|
This is the third year of my experience planting garlic. It all started very small, when the mother of a friend gave me some cloves of Elephant Garlic, which is actually a leek and not a true garlic. They grew beautifully, and made me want to do more. The following year, I did a little research and ordered some hardneck garlic from a mail order site. About 200 cloves were planted. The next year, I added a few more pounds and planted about 700 cloves. Many of the bulbs grew very large, but much to my dismay, we were attacked by the onion maggot, which is a common parasite to garlic and comes from a fly. As a result, I lost about 25% of my crop. This time, I'm trying again and going for aggressive prevention. Soil preparation - The garlic plot has been moved to the garden spot. Rotation of garlic planting sites is important, especially if they've been discovered by the onion maggot. First, pulled up all the remaining plants from the summer, and burned off the grass and weeds. Next, some compost was added and tilled into the soil. Soil testing revealed pH - 7.0, Nitrogen - Low, phosphorus - Medium, Potassium - high. Meanwhile, bulbs were separated for planting. I saved some of the best bulbs from last year's crop, and purchased additional from two regional garlic growers. While I did not count every clove, I am estimating about 2500 cloves to be planted in total. From Mad River Garlic Growers in Ohio: Ischium Red - 13 pounds, Polish white - 1 pound, Nootra rose - 1 pound, Siberian - 1.4 pounds, Killarney Rocambole - 1 pound, Armenian - 1.5 pounds, Magestic Porcelain - 1.5 pounds, Russian White - 5 pounds, Goargian Crystal - 2 pounds From Tangle Ridge Farm: Georgian Crystal - 1 pound, Chesnok Red - 7 pounds, German White - 6.5 pounds, Elephant - 2.5 From Salt River Garlic in Kentucky: (still pending) Music - 10 pounds, Khabar - 5 pounds, Bavarian Purple - 5 pounds 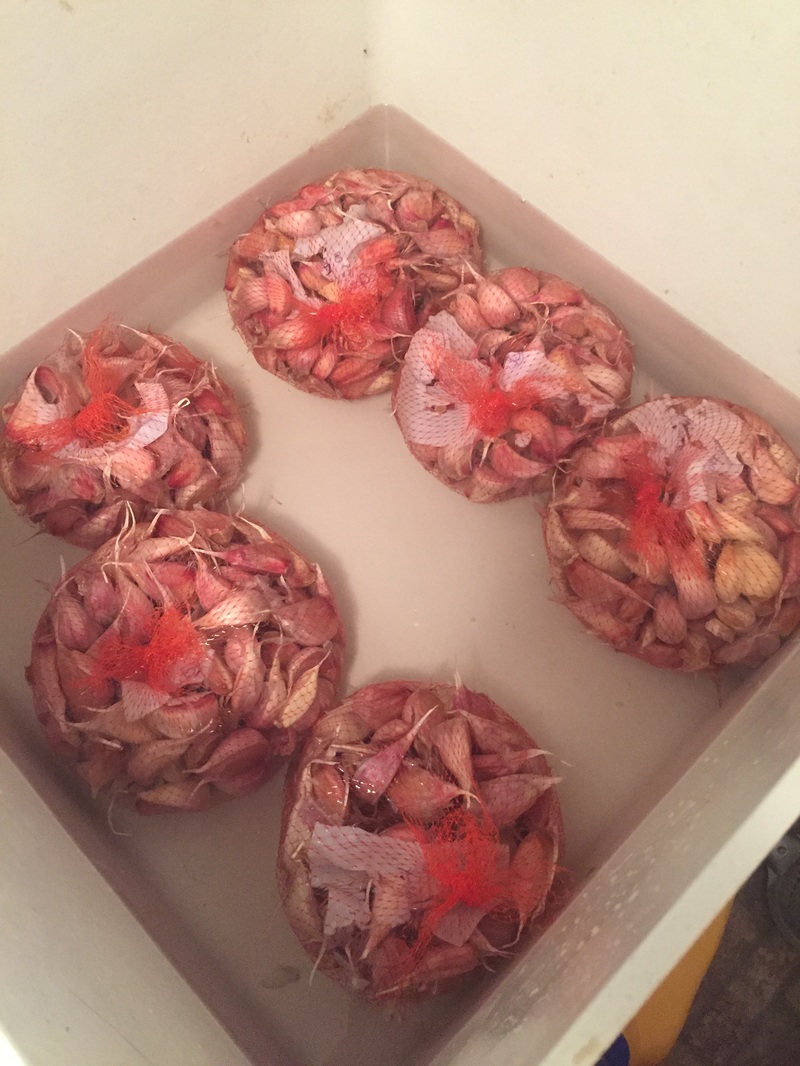 Clove preparation - Based on my limited experience and research and advice from garlic growers, I used the following steps to prepare the cloves for planting: Varieties were separated into mesh bags and identified with colored strings to help keep them straight. Warm water soak - Cloves were soaked in a warm water bath. First, warm water from the tap was ran into a large sink until the cloves were covered. This brought them to about 108 - 110 degrees. I allowed them to soak for about 10 - 15 minutes for a gradual increase in temperature. The water was drained, and another tub of hot water filled with a temperature to about 115 - 117 degrees. I allowed the cloves to soak at this temperature for about 30 minutes. As the water cooled, I warmed it up again with hot water to keep a steady temperature. The warm water kills microorganisms without harming the clove. Alcohol soak - The cloves were then bathed in a bucket filled with 70% isopropyl alcohol for 5 - 10 minutes. . Cheap vodka is also a good choice. The alcohol further sterilizes the cloves. This step is often done last, after the next step discussed, but since I was doing small batches and using the alcohol more than once, I wanted to keep it as clean as possible for repeated batches. Fish Emulsion and baking soda - The cloves were place in an overnight soak of fish emulsion (1/3 cup per gallon) and baking soda (1 tablespoon per gallon). Root Maximizer - Micronized mycorrhizal Inoculant (beneficial fungi) - the final step added this year was a dusting in root maximizer powder immediately before planting. 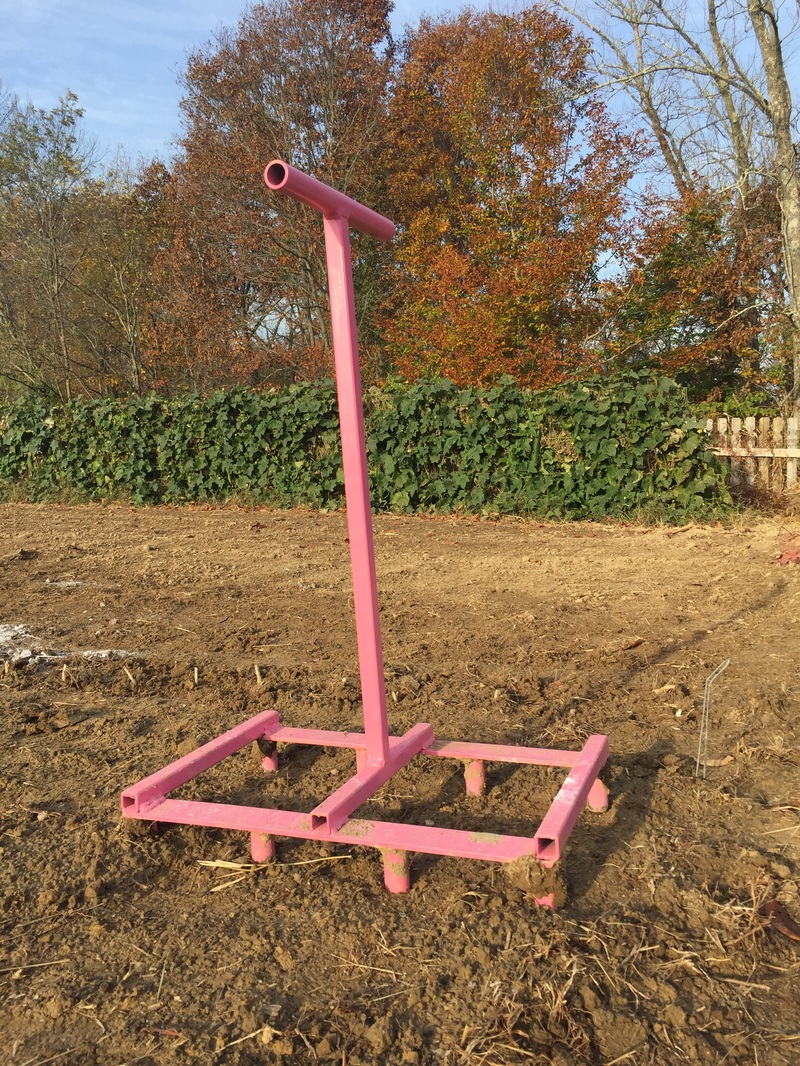 Meet the Pink Lady - she was a great helper in digging the holes for planting this year. After planting, the fish emulsion solution was sprinkled onto the rows, along with a little extra since the nitrogen level in the soil was low. In the spring, feeding will begin early as the bulbs begin to grow. Once done, a light spray of NeemAttack - beneficial nemotodes will go on, and possibly another treatment in the spring. The final step, covering the entire area with a thick layer of clean straw for insulation and weed control. 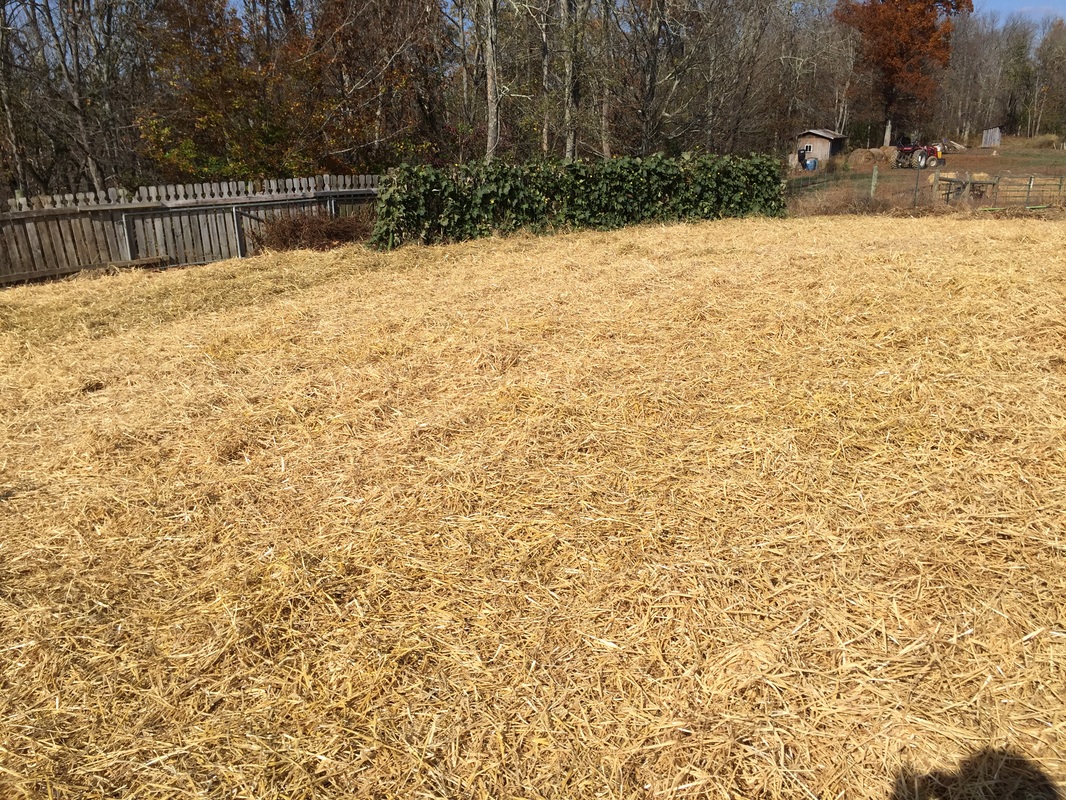 And now we wait.
0 Comments
The chickens have moved into their new home. It has been a gradual process of preparing the inside with nest boxes, plenty of roosting space and insulation of the roof. A few days ago, their food and water was relocated to the new space to introduce them, however, being creatures of habit, they went back to the old building to roost. So, tonight after dark we moved them one by one into the new building and rested them quietly on a roost to sleep. The doors were closed, windows (with screens in) opened for ventilation and plenty of food and water inside. Here they will stay for several days to a week to become accustomed to the new space. I hope it sticks. 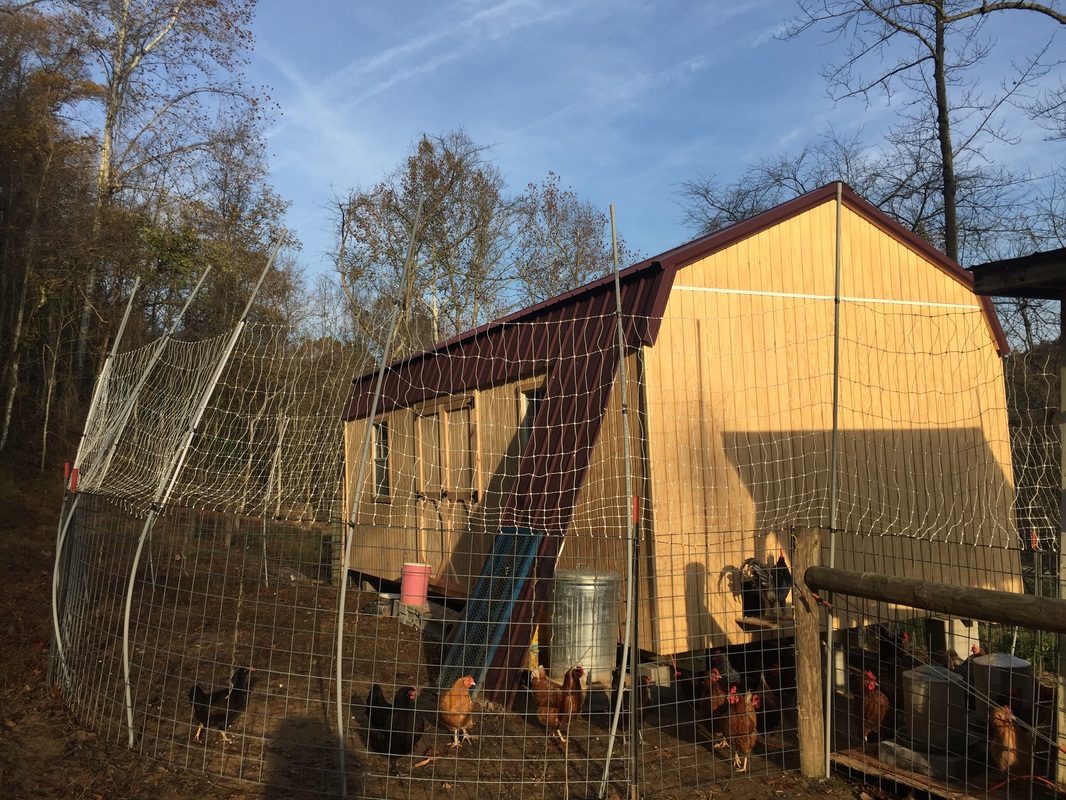 Update: an 8 foot fence surrounds the new coop giving them access to outside but keeping them in the perimeter safe from predators and to continue to learn their new home.
Have you ever wondered where Loofah (also spelled Luffa) comes from? Loofah is a tropical gourd, in the cucumber family. It is also called the dishcloth gourd, and is a unique and versatile plant. I thought it might be cool to make soap with it, so I decided to try growing some this year. The growing cycle is long, about four months, and it grows best in warmer climates. This would be a challenge, but I was not discouraged. I found some seeds on Local Harvest.com, and purchased from a lady in the North east (Rhode island). My thought was, if she can do it in the north, so can I here in southern Ohio. To improve my chances, I planted several seeds in pots around February/March and started them inside. By late April, the plants were growing well and ready to plant. I planted them and several hills of seeds along a 32 foot span of metal fencing panel. After they got started, they grew like wild. To keep them from taking over the garden, I kept wrapping the vines over the fencing to keep it off the ground. 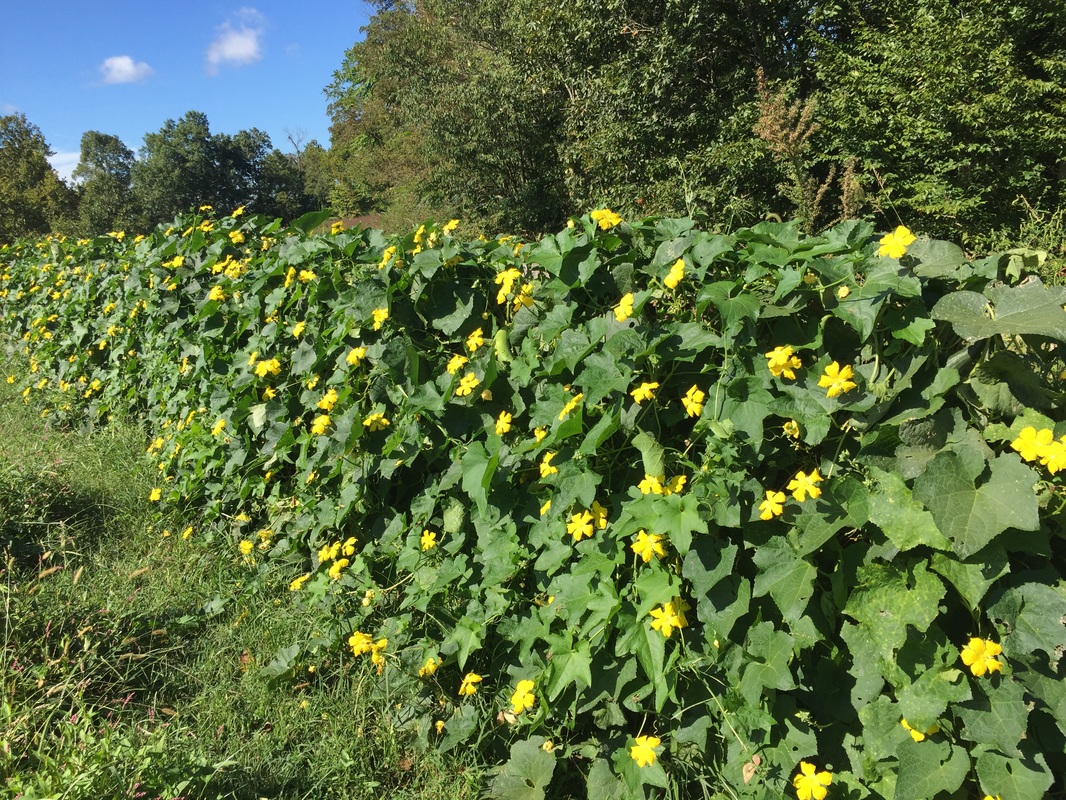 The vines were covered with large, bright yellow flowers, and the honey bees LOVED them.  Eventually, gourds began to slowly appear. As they grew, I was amazed by the size and length. Some were long and straight, and some were curly. Once they started, they kept coming. Now, there's probably at least 100 on the vines. I think I planted a few more than I need.  I've read the young vegetables can be cooked and eaten, but so far I haven't tried it. I also watched a video of a girl peeling the young green skin and blending it up with honey into a facial mask. The goal for sponges is to leave the fruit on the vine as long as possible, until they turn brown and become light and dry. As usual, I was anxious (impatient) and picked one while it was still green. It layed around in the garage for ages, and finally started to turn brown. Unfortunately it got moldy and had to be thrown away. 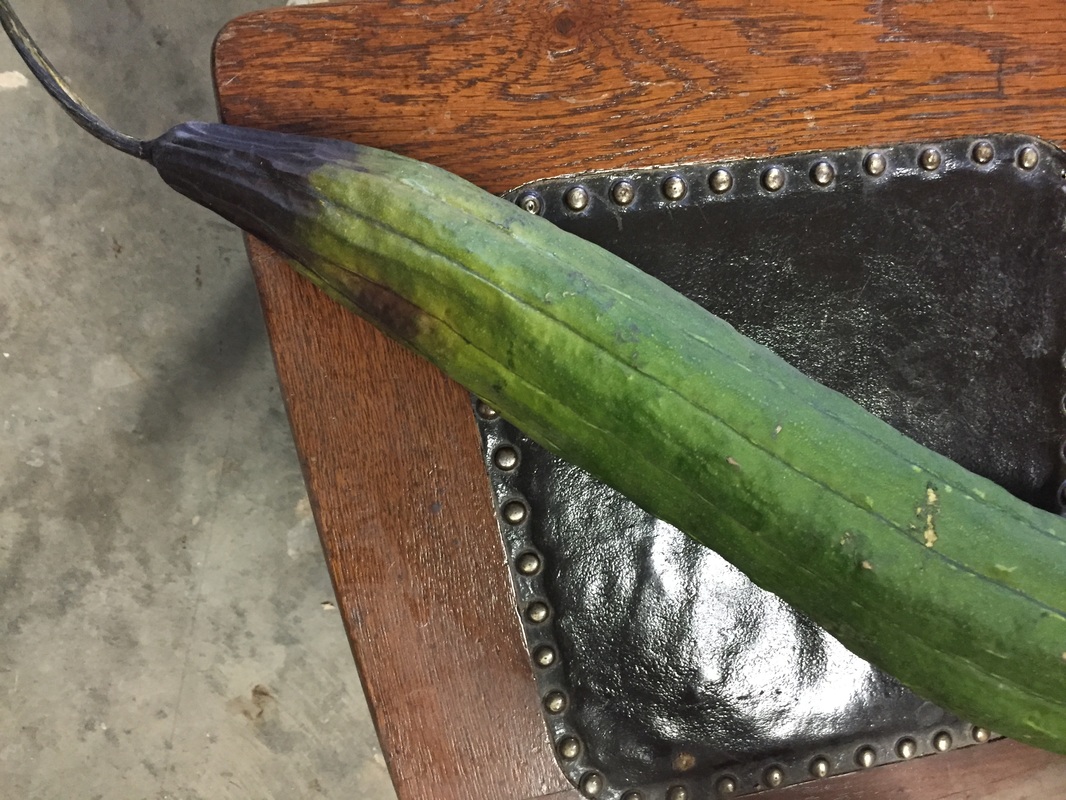 Finally, this week I'm starting to find some that are dry. The gourd felt very light, and the skin was loose, thin, and crinkly like paper. Once peeled, the fibrous sponge is inside. 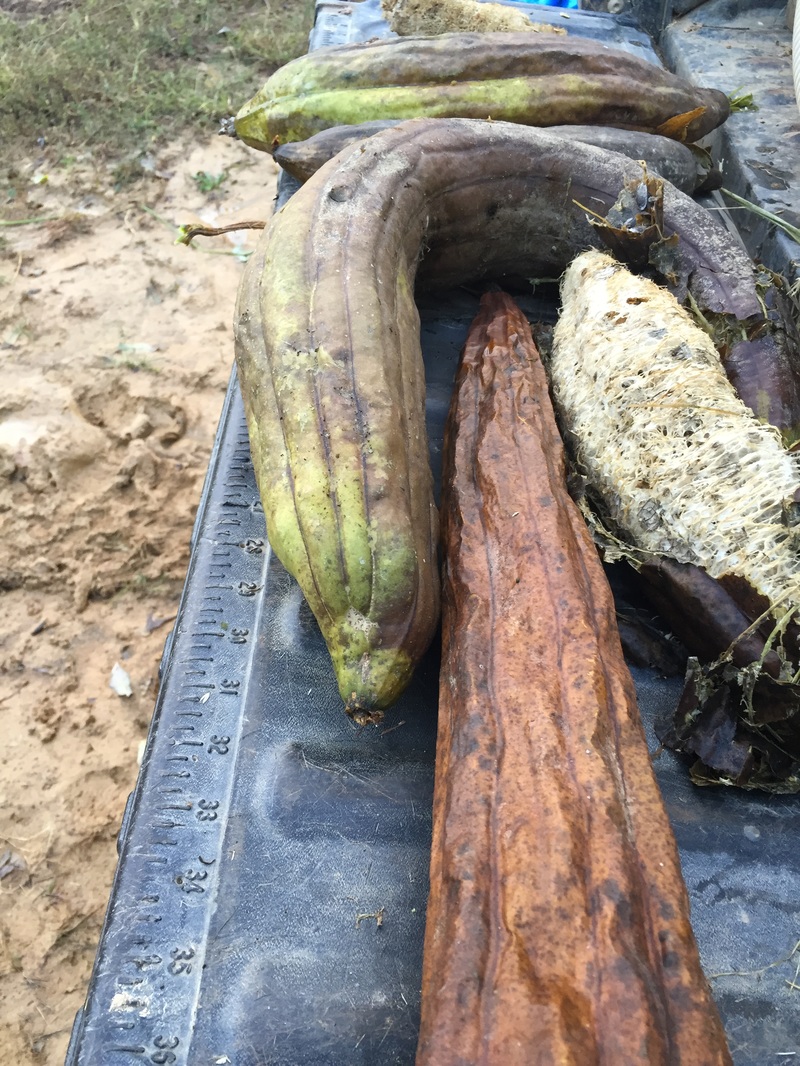 Inside each Loofa are many seeds. If the sponge is dry, they can be shaken out easily into a bucket. I'll be saving these, so if anyone wants some, let me know. 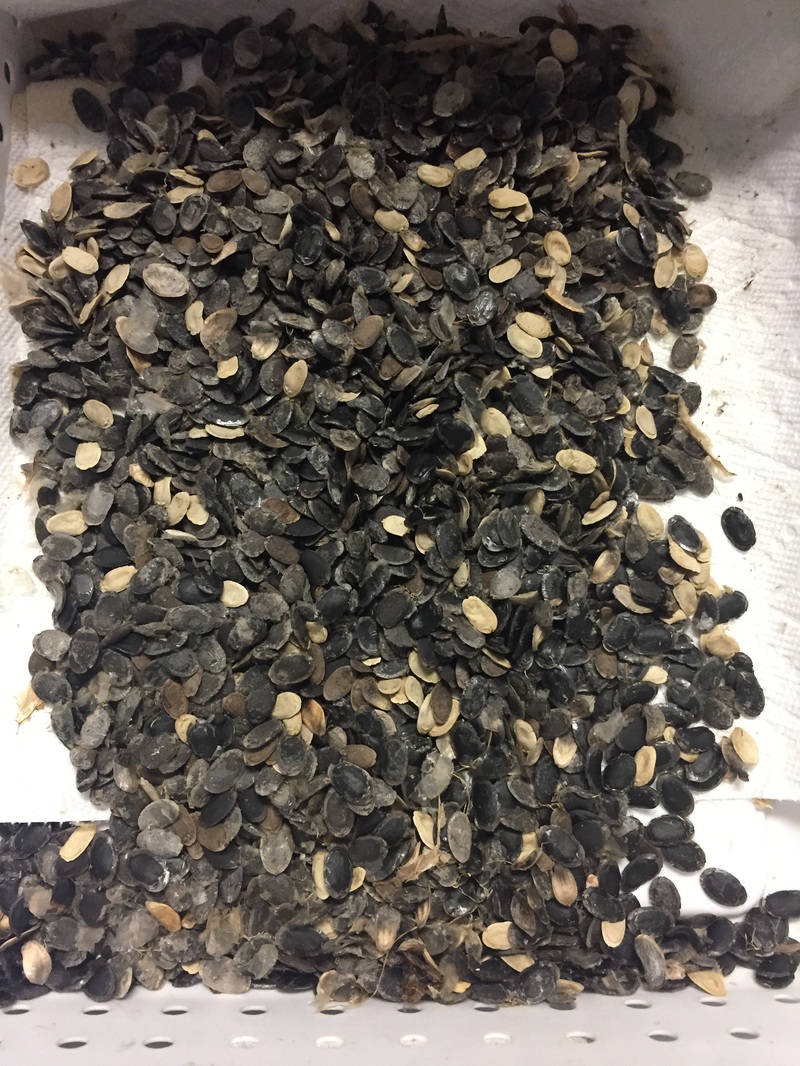 The next step is to clean the sponge. Each one was rinsed thoroughly to remove any pulp, leftover seeds and mildew. Finally, I soaked them for several hours in a bleach solution. You can see more seeds were washed out as I scrubbed them. After a good soak, they were rinsed again with cool clean water. 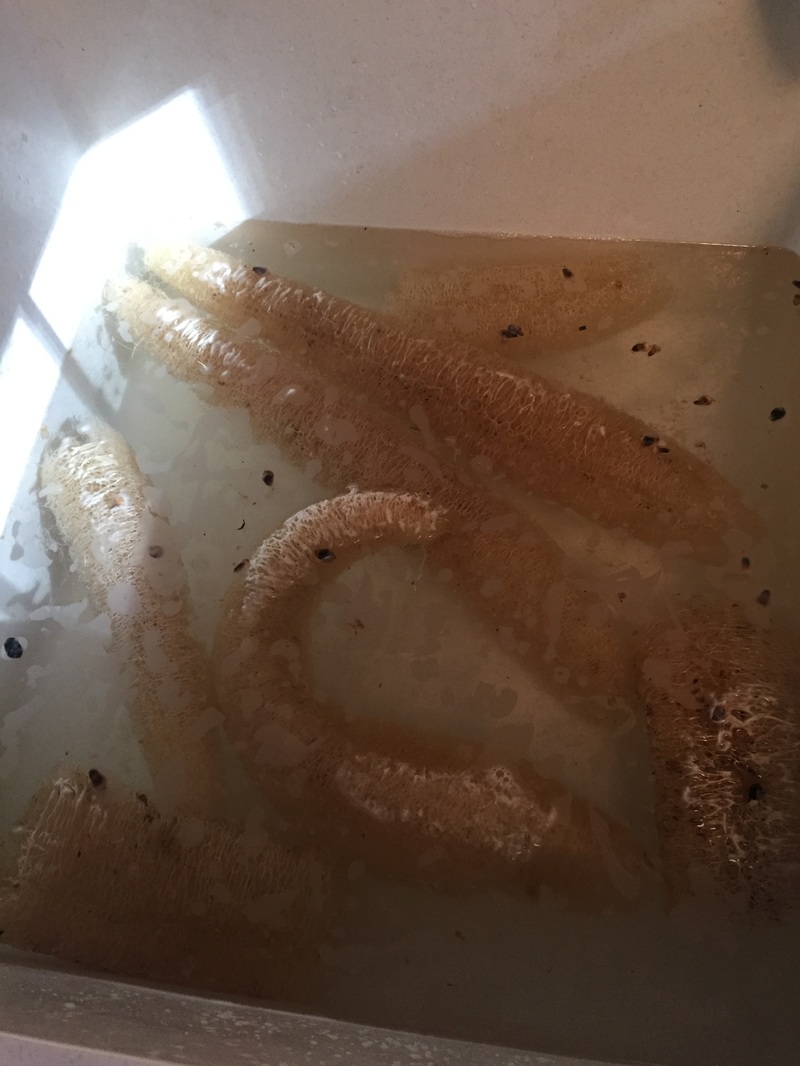 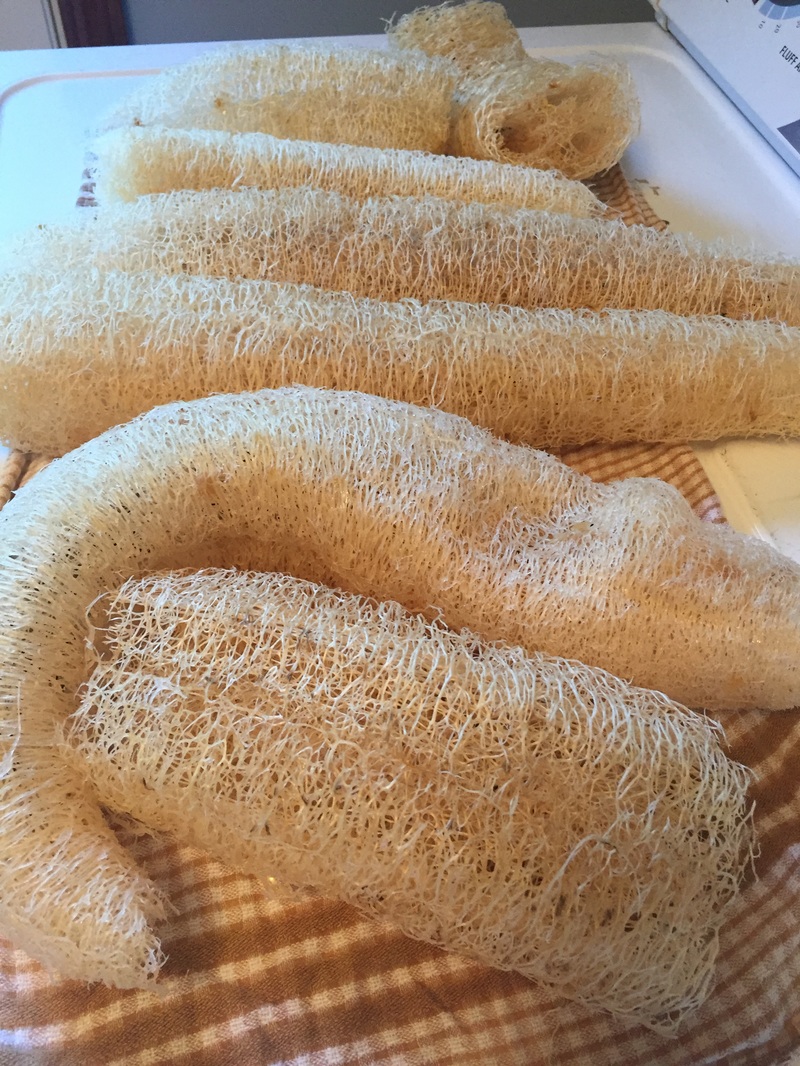 The final result...clean natural sponges, One or two of these will be used in my next soap. I'm also going to try it in the kitchen as a pot scrubber, and in the shower.
If you would like to use one of these in the shower or the kitchen, remember, as with any sponge, to allow it to dry between uses and keep it sanitary. It should be changed frequently, and periodically can be heated up in the microwave or soaked in a bleach solution to eliminate bacteria. And that is where Loofa comes from! I spent a few hours on Friday soaping. Oatmeal, milk and honey is a repeat favorite, and one I'm still trying to perfect. Lemongrass and Tea tree is a new EO combination colored with French green clay, The scent is fresh and invigorating, and will be a creamy luxurious bar. The third was an effort to create a Christmas bar using familiar scents of Pine and Tangerine EO along with red and green clays, and activated charcoal. The pine is very mild and the tangerine is fragrant. A fourth batch, not pictured, is another favorite repeat recipe of the Shaving Bar with Bentonite clay. This time I added a small line of activated charcoal. All of these will be ready after four weeks of curing, just in time for Christmas stocking stuffers. Several varieties are available now on the store page, and for sale at The Wild Ramp and Red Caboose in Huntington. I have one more batch planned, with a special ingredient - Loofah grown here on the farm. More about that soon! Breeding season has officially begun at Tangle Ridge Farm. Alita was ready, and on Saturday took the 0.3 mile hike up the hill to visit Daryl. This will be his first year as herd sire at TRF. Alita is F1 Mini Nubian, and the first goat to come live on the farm. It is because of her that I chose Mini Nubians as my breed of choice. During her time here, she has given me 3 does and 3 bucks, and has proven to be an excellent mother, a good milker, and an all round hardy and friendly goat. Needless to say, she is one of my favorites. I am excited to see what next year brings.  Several end of summer projects are planned and this is one. A 10x12 deck with Pergola is underway.
|
AuthorMy name is Christy Franklin. Archives
February 2021
Categories |
 RSS Feed
