|
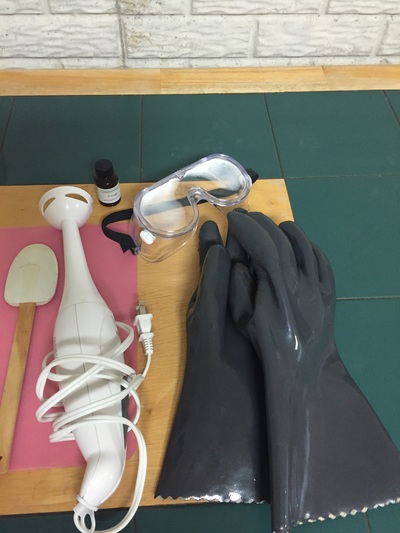
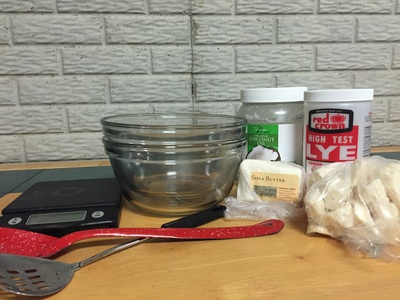
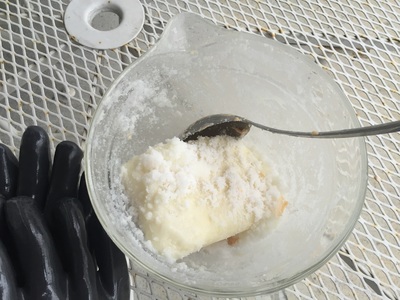
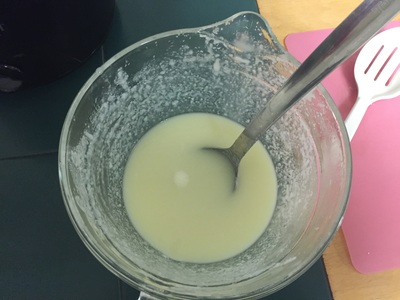
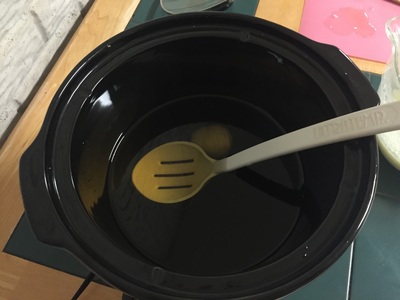
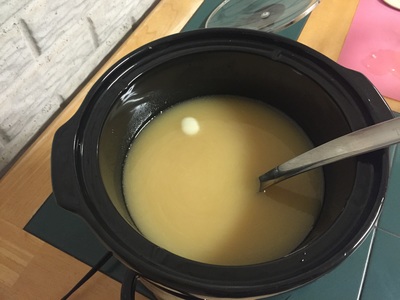
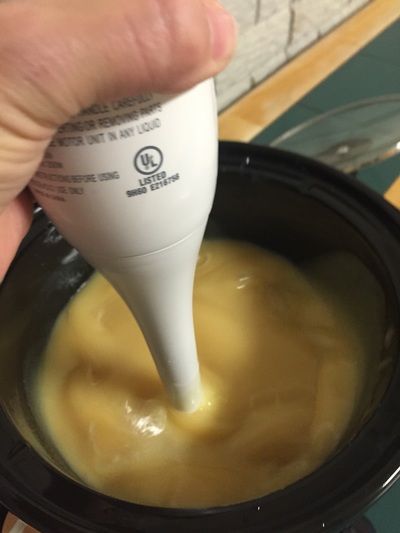
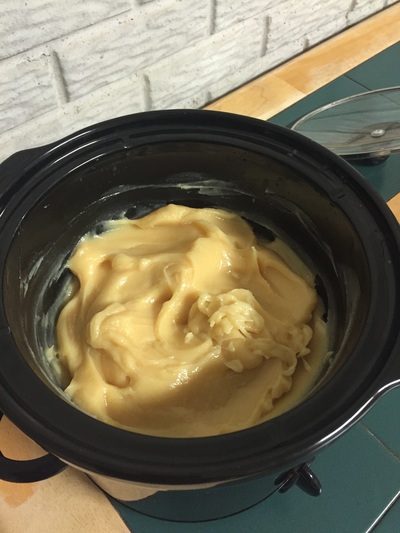
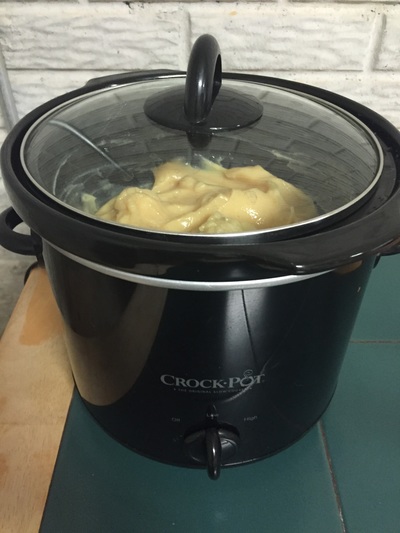
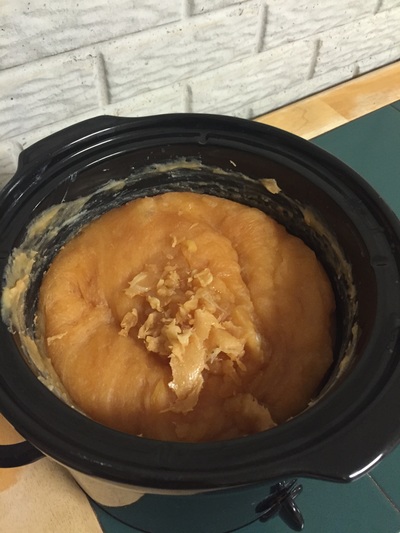
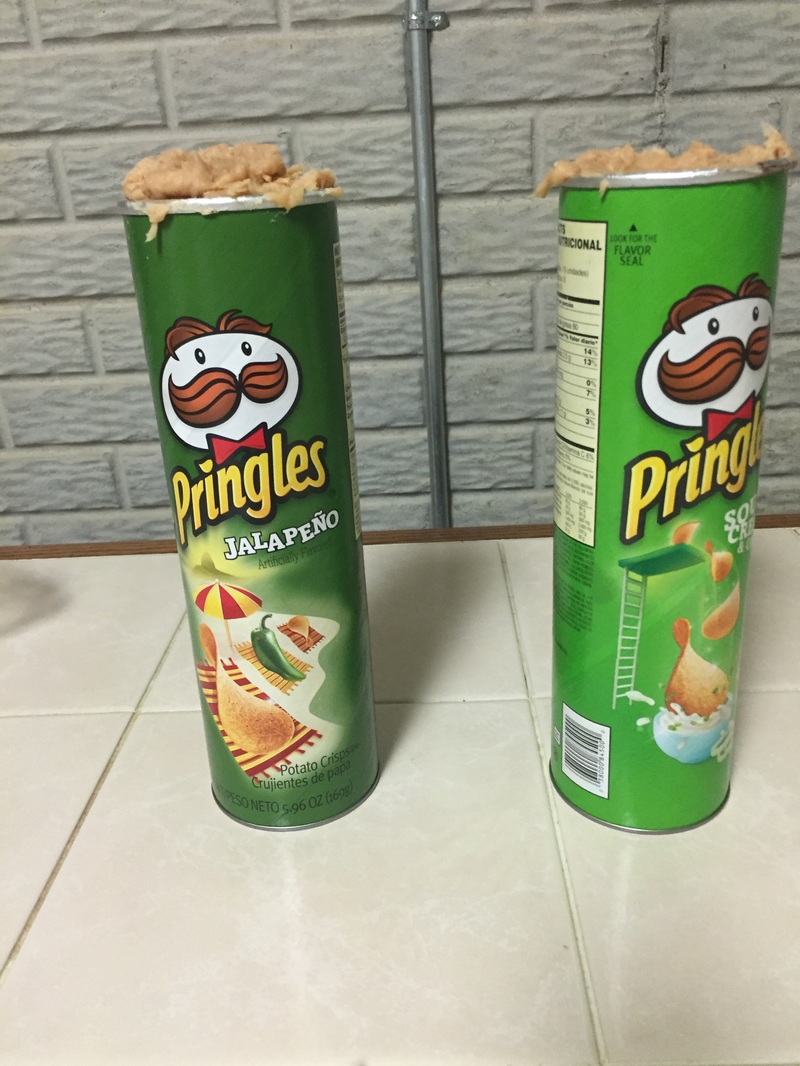
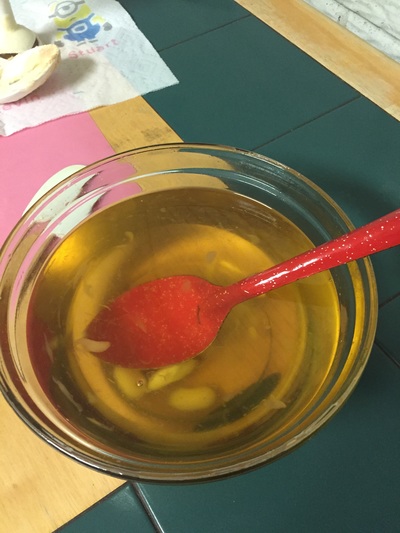
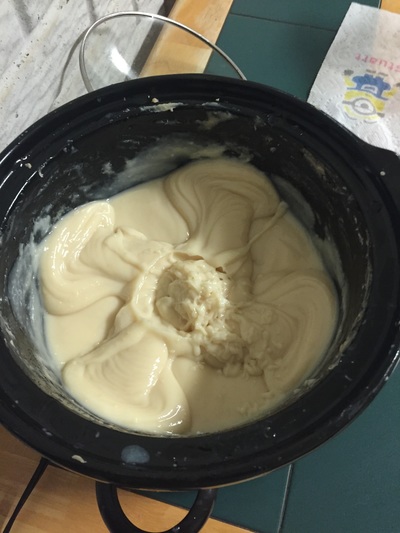
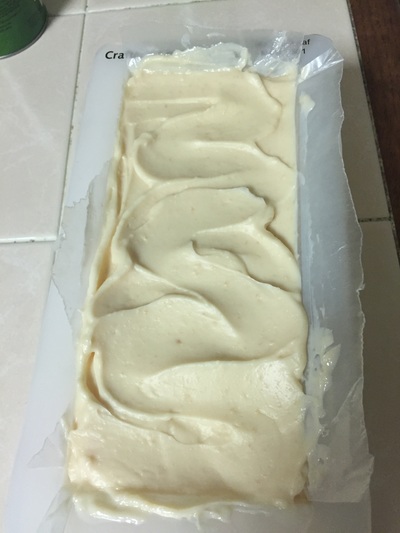
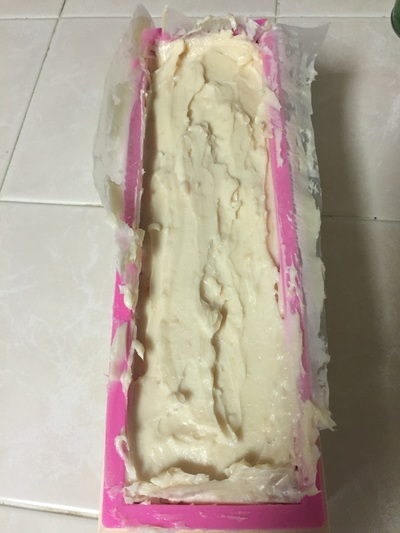
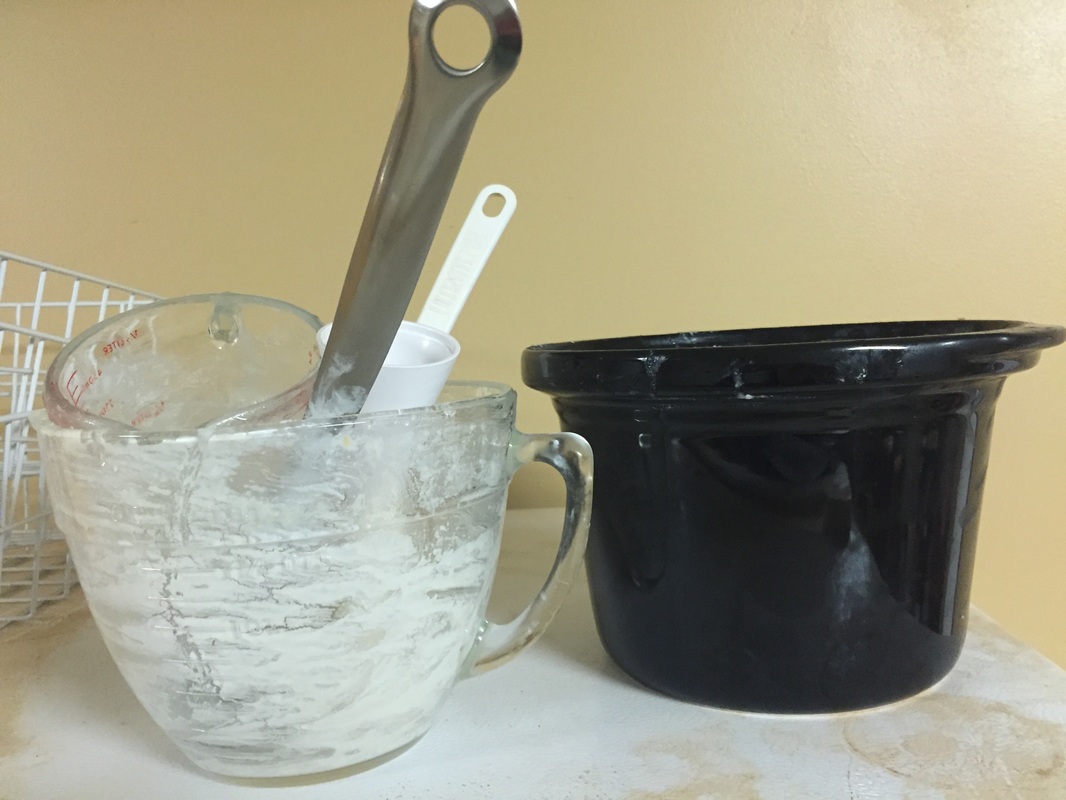
Soap making is one of those things I've been wanting to try, but admittedly, I've been a little scared. The idea of working with lye is intimidating, especially for someone like me who tends to be a little clumsy. I've been working up my courage over the past few weeks by reading and researching, gathering supplies and freezing goat milk. There are so many recipes and variations on the web and in books, it is overwhelming. I compared several and came up with my own simple recipe using butters and oils I had on hand. Using the lye calculator on Brambleberry.com, I calculated a 5% superfat level and it told me the amount of lye and liquid to use for this combination. I can't tell you how awesome it is because it has to cure before we can use it, so if you use this recipe, its at your own risk. 16 oz. Shea Butter 16 oz. Mango Butter 16 oz. Coconut oil (76 degrees) 7.63 oz. Lye UPDATE: This makes a harsh 0% superfat. The correct amount for a 5% superfat level is 6.73 oz. Always double check the lye before using someone else's recipe!) 15.84 oz. liquid (frozen goat milk) Safety first when using lye! The dogs and cats were locked out of the room, and gloves and goggles were used at all times when working with the lye. If you try this, arm yourself with knowledge before you start. If it touches your skin, it WILL BURN. The dishes and spoons used today will forever be dedicated to soap making and nothing else. Resources recommended freezing the goat milk in ice trays. I didn't have any laying around, so my milk was frozen in chunks in freezer bags. This was a bad idea. When measuring, I had to cut pieces off to get it to the right weight, and this was not an easy task. Note to self: get some ice trays. Freezing is necessary because lye creates heat and will burn the milk. I measured the lye in a separate container, and after taking it outside, slowly added the lye to the milk, stirring as it melted. Soap can be made using 'hot process' or 'cold process.' In simple terms, hot process ads a step of cooking the soap allowing it to be used right away. Cold process does not involve cooking and requires the soap to cure for several weeks before it can be used. Because I didn't want to wait, I made the first batch using 'hot process'. I melted the butters and oils in a crock pot, and then added the melted lye/ milk mixture. The warmth of the oils darkened the milk when it was added. Using a stick blender, the batter was mixed for several minutes until it thickened. The proper term is to mix it to 'trace', meaning when you stir, it will leave behind a trace. Next, turn the crock pot to LOW and cook for about an hour, checking and stirring every 15 minutes. It took on a waxy mashed potato consistency. Hot process darkened the soap even further. To test when its done, there are ways to test the pH, or you can touch it to your tongue and see if it burns. When it appeared to be done, 1 oz. of essential oil fragrance was added and stirred. This recipe filled 2 pringles cans. Its a little lumpy on top because it was cooling and getting thick by the end. Next time, work faster. Tomorrow I will peel off the cardboard, cut the soap into bars, and let it cure for a day or two. It will be ready for use. Cold process was used for my second batch. Using the same recipe, I melted the butters in the microwave and set them aside to cool. The same process as previously was used to mix the lye to the milk. Always add the lye to the liquid, and never the other way. One reference described it as 'snow on the mountain' as a way to remember this step. Somehere I read that the temperature difference between the oils and the lye/milk should only be about 10 degrees to prevent darkening. So, I measured the temperatures and allowed the oils to cool to less than 90 degrees. (too cool and it would start to harden). My lye/milk was 76 degrees. The lye/milk mixture was added slowly this time, and had much better results. The final product had a nice creamy white color and smooth texture. This batch went into 2 bar molds I had purchased. Both molds were lined with wax paper to aid in unmolding. The white silicone mold was much easier to use and looked much nicer than the wooden one. Tomorrow, I will unmold and cut both bars. These soap slices will have to cure for several weeks before they can be used. The longer it ages, the better the soap, or so I'm told. So, I've come to realize soap making is not nearly as difficult or as scary as I thought it would be.
0 Comments
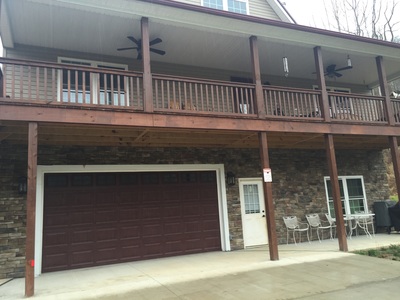
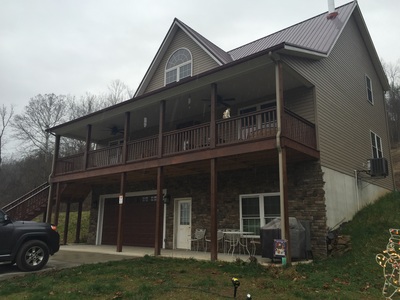
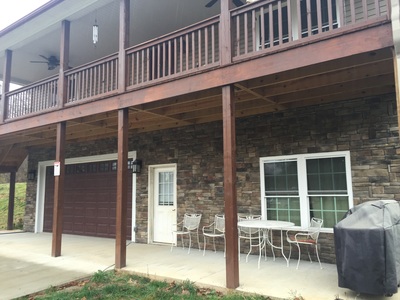
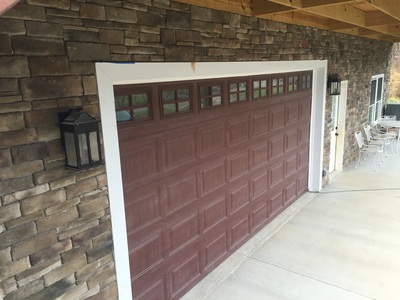
Life is hectic; and in my past life, I haven't taken enough time to pause and think about how blessed I truly am. This I want to change. The most important center of my life has always been my family, my driving force and reason for getting out of bed every morning and working through each day. Without them, I would have no purpose. I am thankful for each and every day I have with them. With the completion of the rock wall, I can finally say, the house is done. It took a lot longer than expected with a few delays for weather and hunting season, so having it done is a giant relief. Our DIY house finishing jobs this year were pouring concrete for the porch and driveway, gravel drive and the front wall. In the spring, I may dress it up a little with some landscaping and paint the sides of the basement concrete. Someday I may put a deck on the back, but those are all optional. Connor's science fair project this year is "Sheep parasites." Today, we completed the first phase of his experiment which was checking each sheep for worm load using a FAMACHA score - we check the color of their bottom eyelid for pinkness and signs of anemia - treating them if needed , and obtaining a fecal sample. (Sorry I wasn't able to get pics of that step). We observed the fecal samples under the microscope to count the number of parasite eggs. The project will be comparing the effectiveness of chemical dewormers with copper bolus. In two weeks, we will repeat the same process to see which treatment method was most effective.
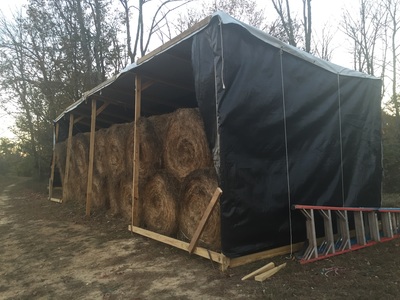
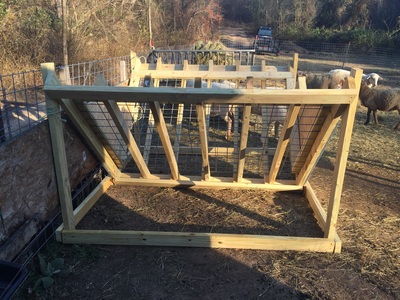
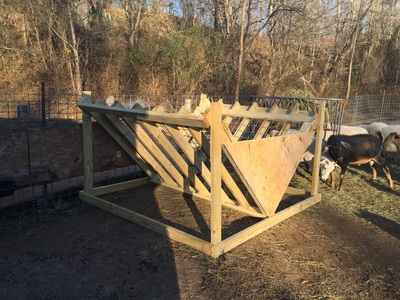
For the first time, this year we will be feeding round bales to the sheep. While there are benefits to this method, such as a constant supply of hay (free choice) to the animals and less frequent feeding by the farmer, it presents a new set of issues to be solved. The first was storage. Since we have no barns, we built the hay tent structure from 2X4s, tarp and heavy plastic. We had a few struggles with that, but I think we have it covered (pun intended) now. The second challenge was moving the bales. This involved purchasing a 'hay spear' to add to the tractor in order to pick up the bales and move them from place to place. Since I haven't learned to drive the tractor, this means less work for me. Thirdly, a feeder is needed to hold the bales for the sheep to eat. Round bale hay feeders can be purchased for 2 - 300 dollars at the local TSC or other farm stores, or, you can build your own. Since we've become 'do it yourself-ers' to save money (but not time) we decided to build our own. This being our first attempt I'm sure there will be improvements to this design, but for now we have a V shaped frame built from 2X4s and lined with 4X4 goat panel fencing. The fencing keeps the hay from falling through the feeder preventing waste. The sheep will have to work a little bit for their food, but it will be clean and last longer. This feeder cost about $50 and a couple of hours to build. We will be adding a cover to the hay structure to protect it from rain and snow. We are thinking about a tarp over a frame, yet to be done.
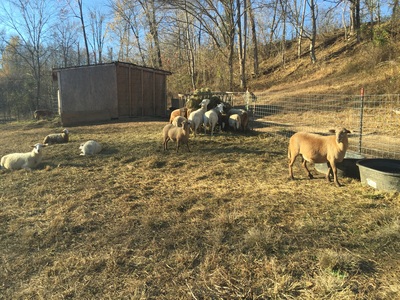
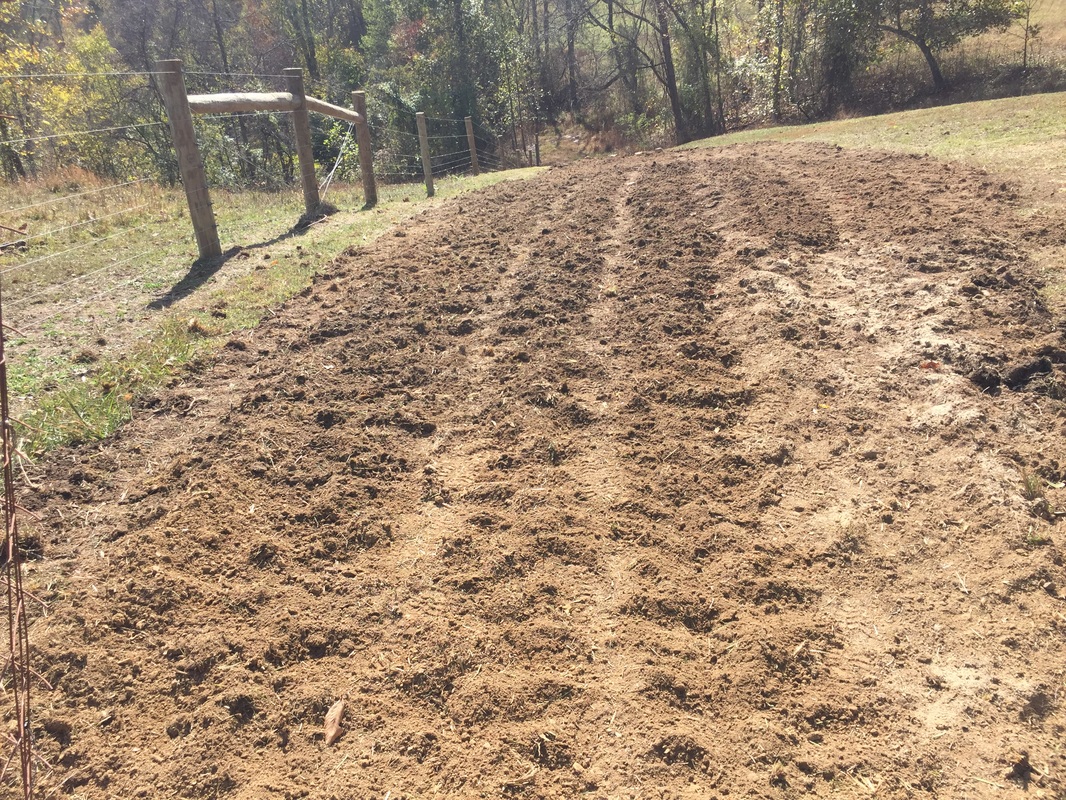
I'll let you know how that turns out. One round bale should last about 4 - 5 days, the equivalent of about 10 - 12 square bales of hay. We have 10 adult sheep, 11 lambs, 1 donkey and 3 boy goats eating on it. Square bales will go to the horses and the goats daily. I'm beginning to realize my free time consists of feeding and watering animals, especially now that winter is coming. The weather is still nice, so I'm not complaining....yet. Wow. I'm really slacking on my blog posts :-(. I'd like to say its because all of the work is done and we're just sitting around doing nothing so there's really nothing to write about...but that's not the case. I did take a week off in October for an awesome family vacation, so I'll use that as my excuse this time. Ok, now back to reality. A gust of wind blew over the hay tent we built for the round bales. It was almost done... just hadn't been anchored to the ground as planned. We spent and entire day building it back better than before, and it is now securely anchored and has tarps across the front to shield it from the wind and rain (and snow). Cross your fingers that it stays up this time. During mid-October, a large pile of beautiful compost was added to this soil, and approximately 800 bulbs of garlic planted. It is now securely covered with straw mulch and ready to do its thing. If you need some garlic next summer, if all goes well I should have plenty. I learned a few things from last year's crop so hopefully the bulbs will grow bigger. The sheep came down to the feed lot yesterday, time to start feeding hay. All are looking fat and happy, and I'm pretty confident Rambo did his job. We have 9 breeding ewes this season, and 11 lambs remaining from last season (6 rams and 5 ewes). Our survival rate was much better this year. With better management practices, we only lost one lamb. Each year we learn more, and although books and web sites are great, the best teacher is experience. 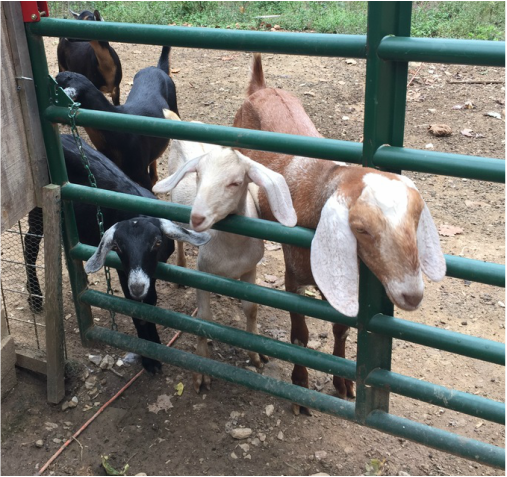 My sweet Ember spent a couple weeks with Kobalt, and now she's back with the rest of girls. She and I miss our milking time. We are looking forward to more kids and milk next spring. I'd love to report 'the wall is done' but, its not. Vacation and deer hunting season took priority. Still, a lot of progress has been made, so when the time comes, hopefully soon, I can clean up my driveway.
|
AuthorMy name is Christy Franklin. Archives
February 2021
Categories |

 RSS Feed
