|
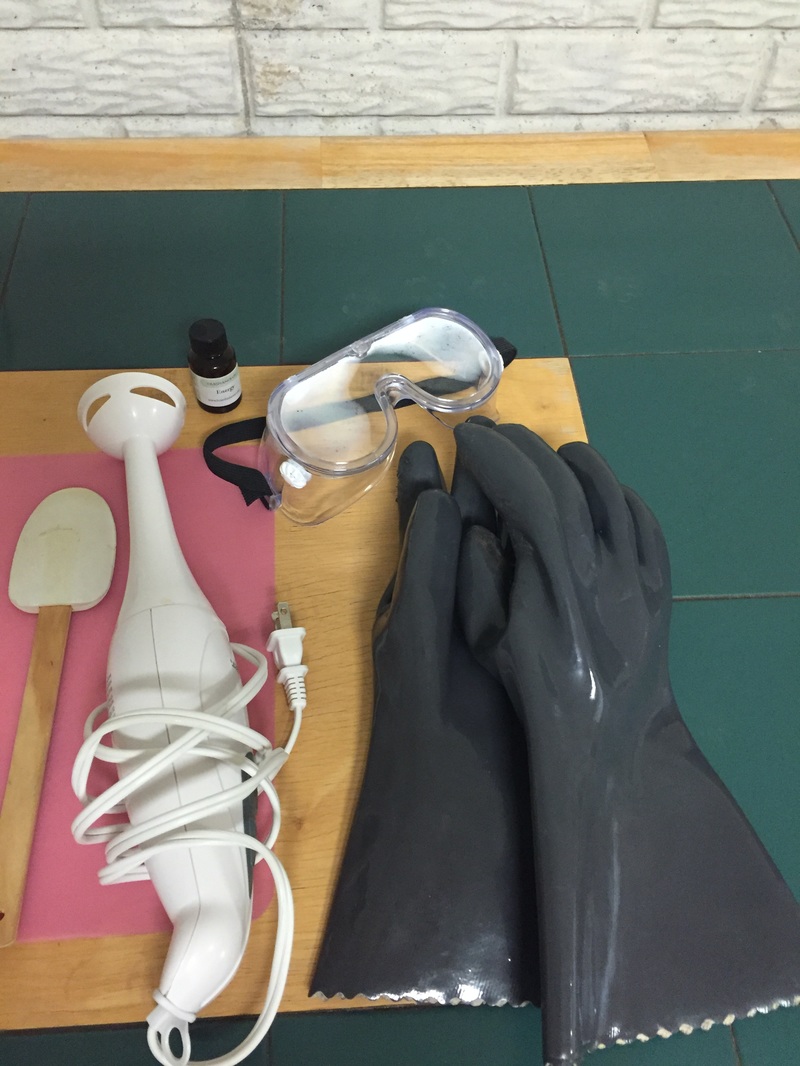
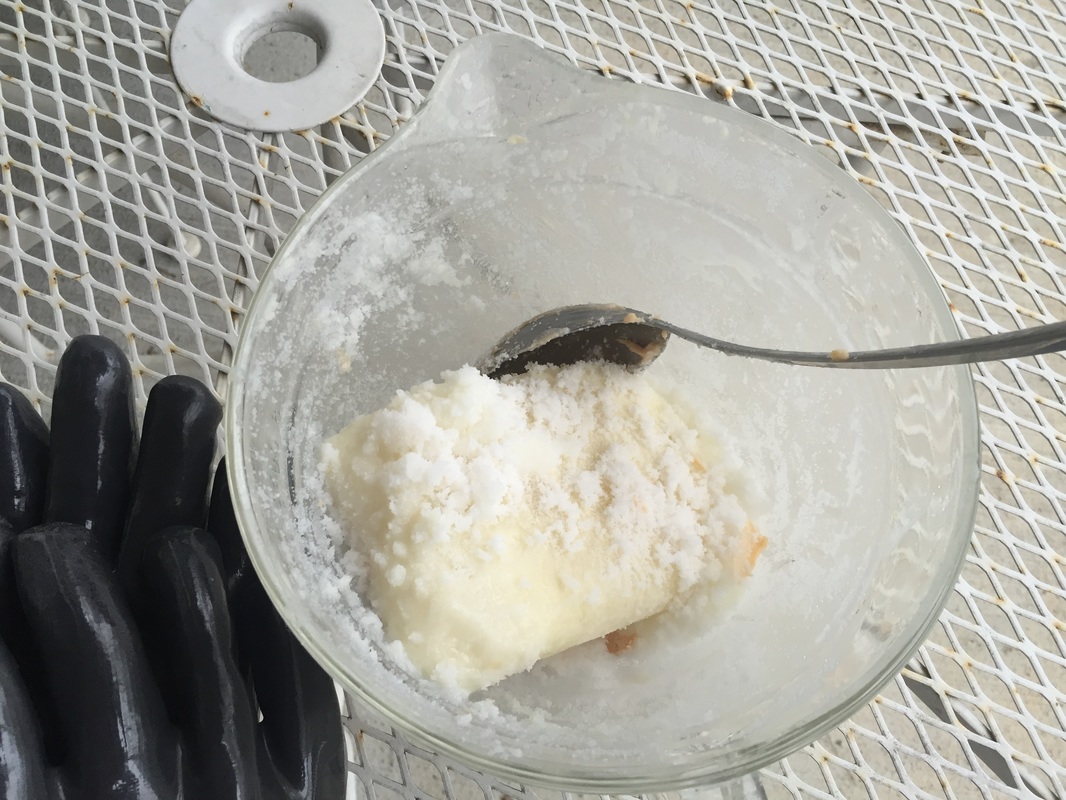
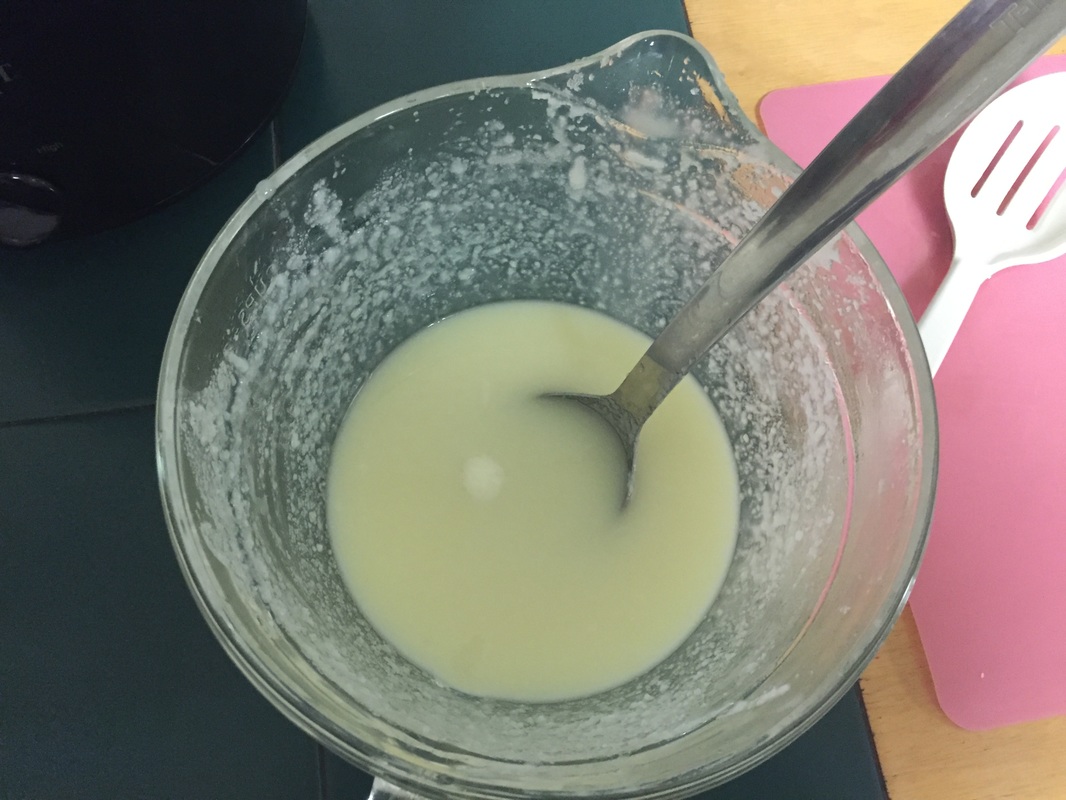
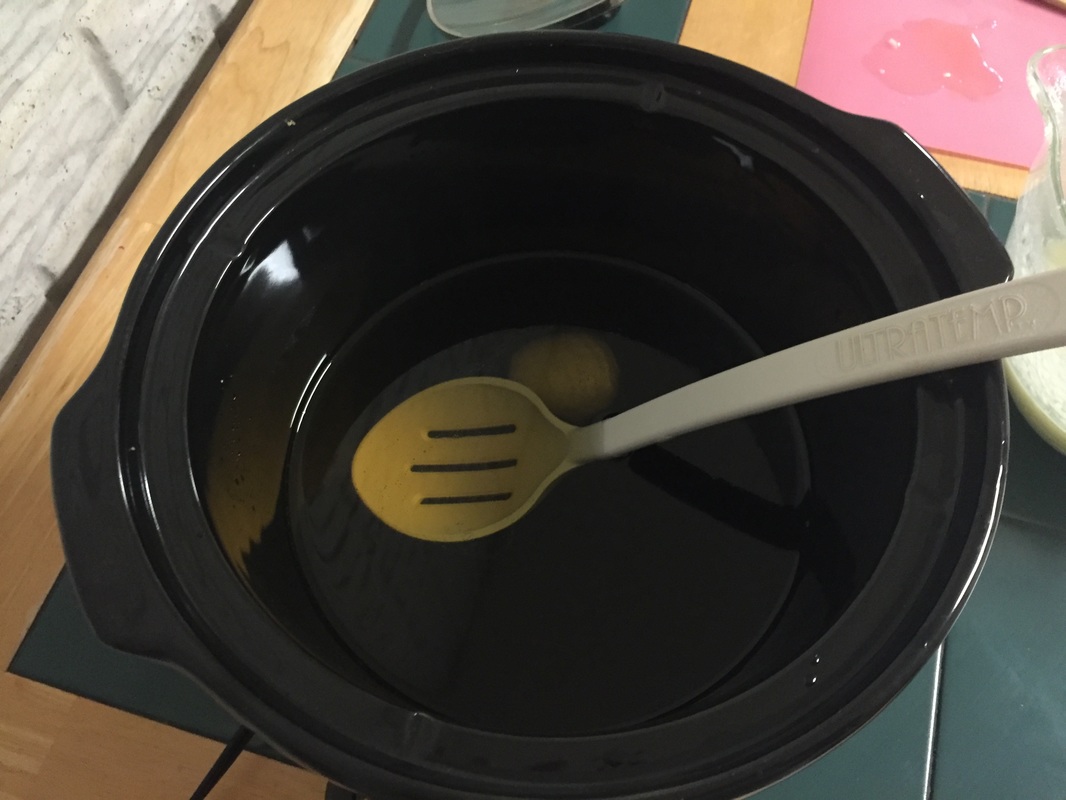
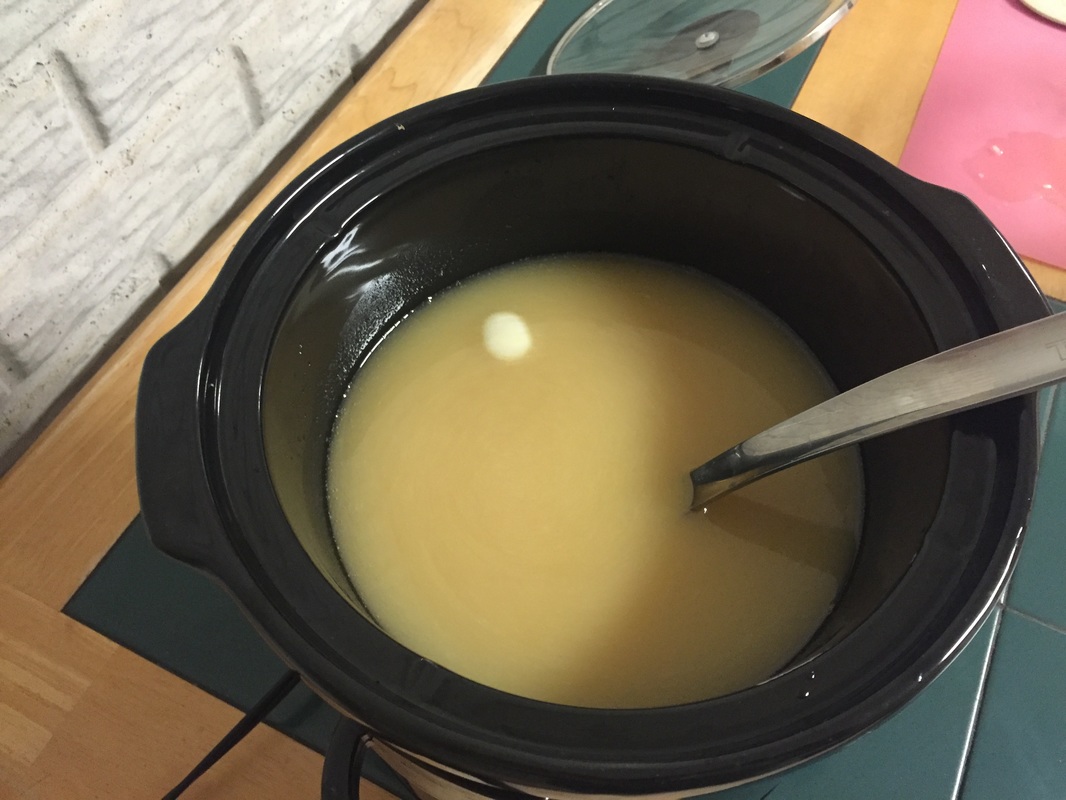
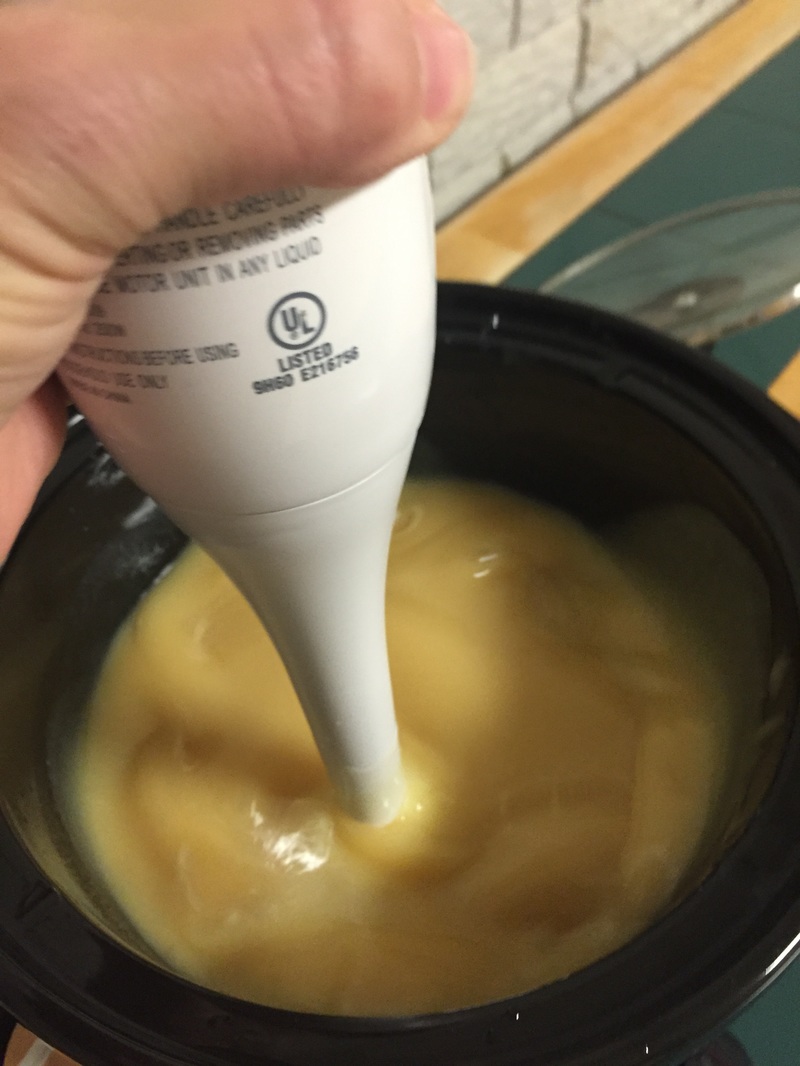
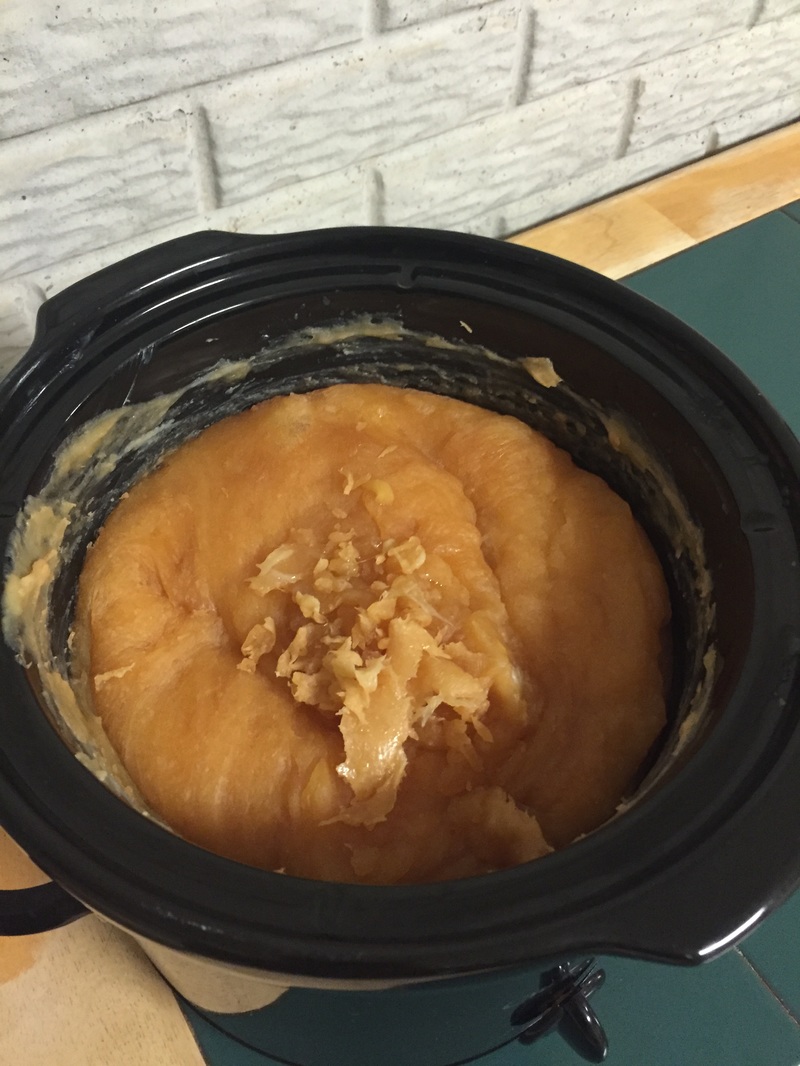
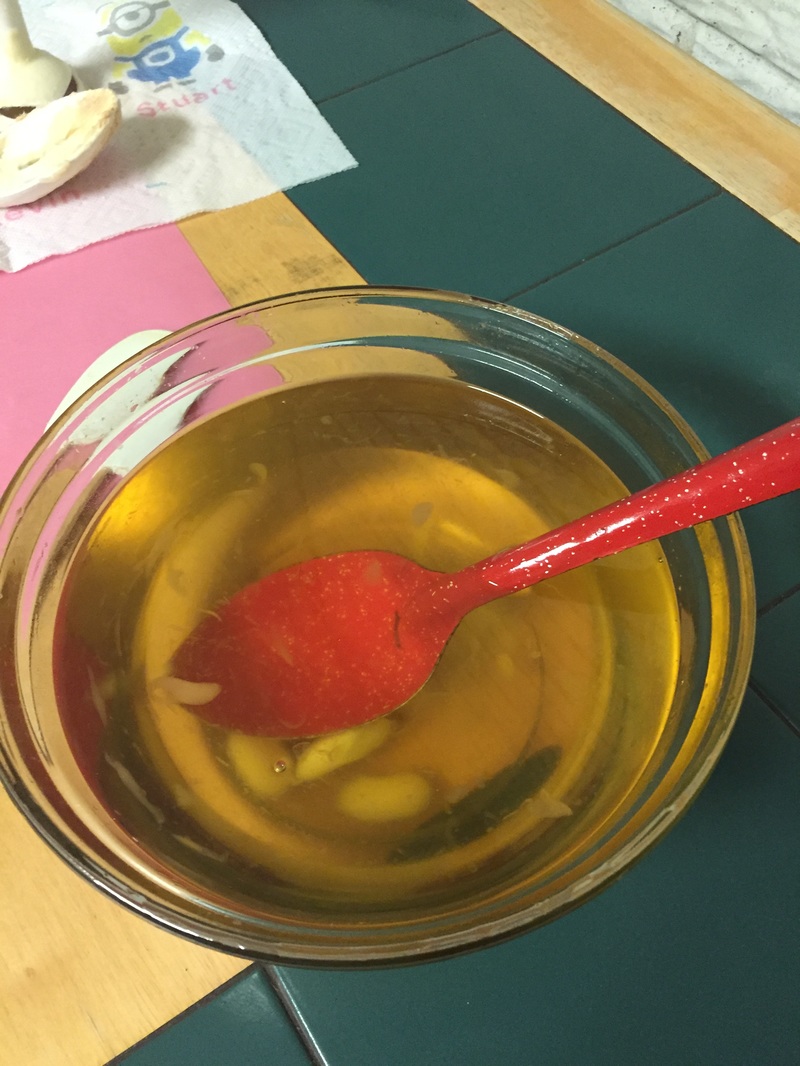
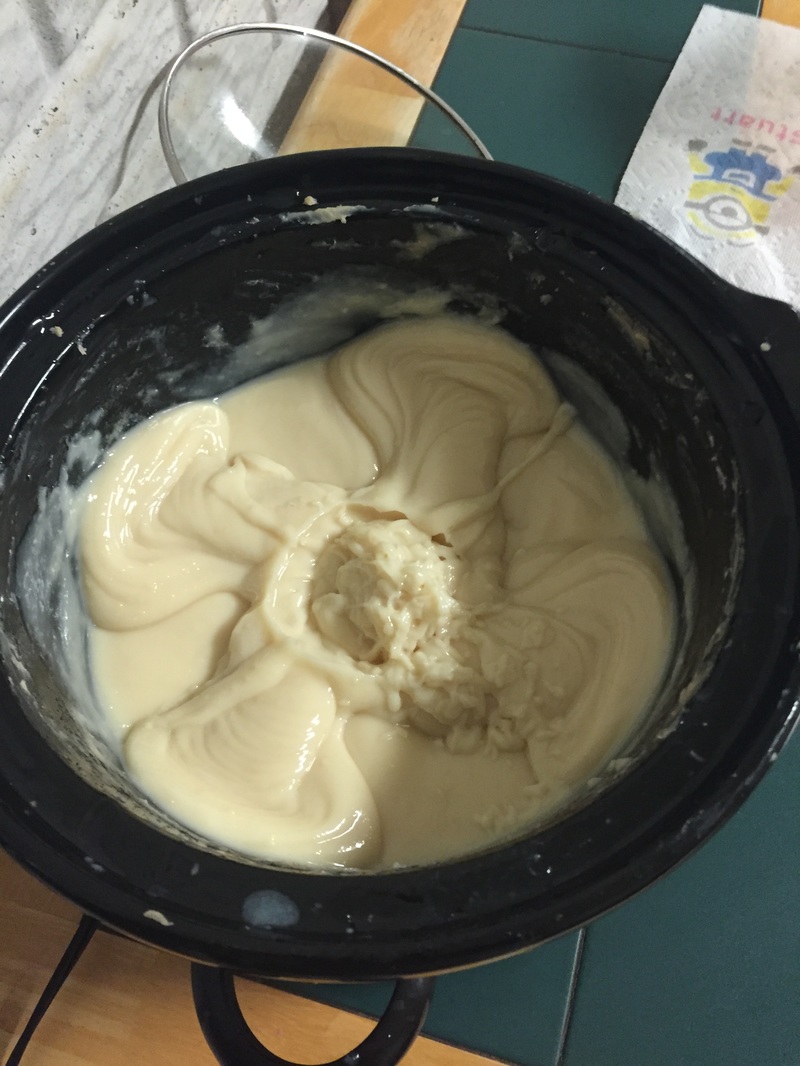
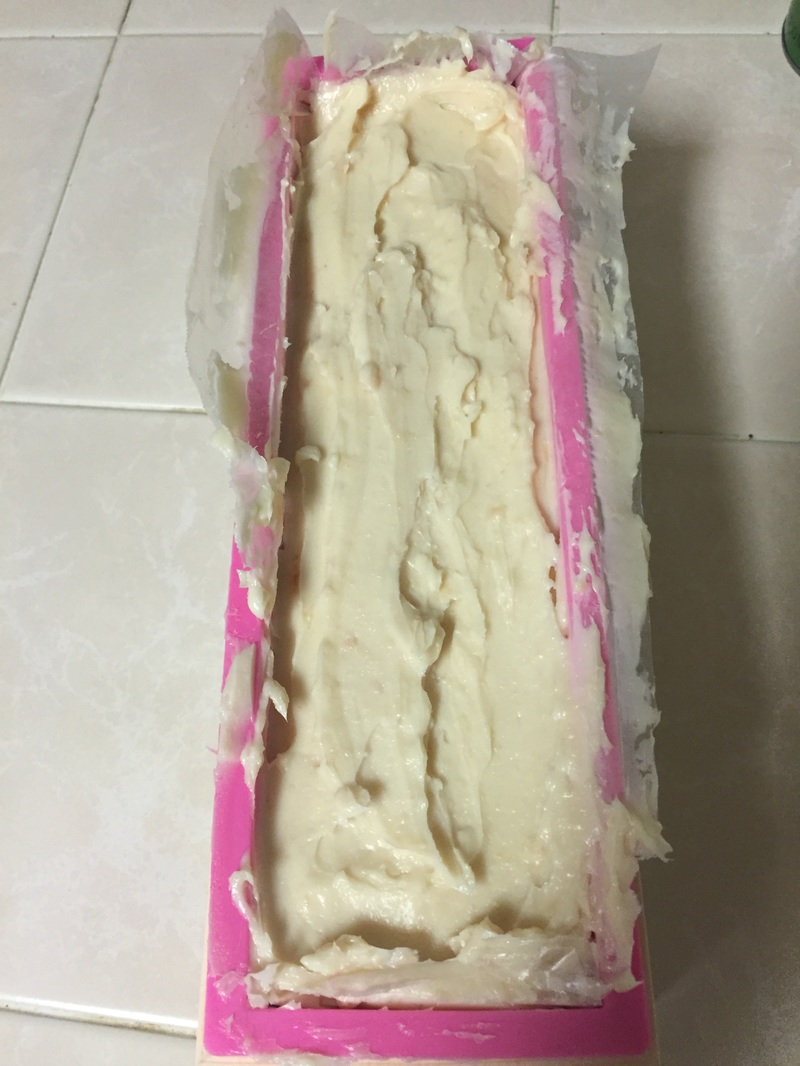
Soap making is one of those things I've been wanting to try, but admittedly, I've been a little scared. The idea of working with lye is intimidating, especially for someone like me who tends to be a little clumsy. I've been working up my courage over the past few weeks by reading and researching, gathering supplies and freezing goat milk. There are so many recipes and variations on the web and in books, it is overwhelming. I compared several and came up with my own simple recipe using butters and oils I had on hand. Using the lye calculator on Brambleberry.com, I calculated a 5% superfat level and it told me the amount of lye and liquid to use for this combination. I can't tell you how awesome it is because it has to cure before we can use it, so if you use this recipe, its at your own risk. 16 oz. Shea Butter 16 oz. Mango Butter 16 oz. Coconut oil (76 degrees) 7.63 oz. Lye UPDATE: This makes a harsh 0% superfat. The correct amount for a 5% superfat level is 6.73 oz. Always double check the lye before using someone else's recipe!) 15.84 oz. liquid (frozen goat milk) Safety first when using lye! The dogs and cats were locked out of the room, and gloves and goggles were used at all times when working with the lye. If you try this, arm yourself with knowledge before you start. If it touches your skin, it WILL BURN. The dishes and spoons used today will forever be dedicated to soap making and nothing else. Resources recommended freezing the goat milk in ice trays. I didn't have any laying around, so my milk was frozen in chunks in freezer bags. This was a bad idea. When measuring, I had to cut pieces off to get it to the right weight, and this was not an easy task. Note to self: get some ice trays. Freezing is necessary because lye creates heat and will burn the milk. I measured the lye in a separate container, and after taking it outside, slowly added the lye to the milk, stirring as it melted. Soap can be made using 'hot process' or 'cold process.' In simple terms, hot process ads a step of cooking the soap allowing it to be used right away. Cold process does not involve cooking and requires the soap to cure for several weeks before it can be used. Because I didn't want to wait, I made the first batch using 'hot process'. I melted the butters and oils in a crock pot, and then added the melted lye/ milk mixture. The warmth of the oils darkened the milk when it was added. Using a stick blender, the batter was mixed for several minutes until it thickened. The proper term is to mix it to 'trace', meaning when you stir, it will leave behind a trace. Next, turn the crock pot to LOW and cook for about an hour, checking and stirring every 15 minutes. It took on a waxy mashed potato consistency. Hot process darkened the soap even further. To test when its done, there are ways to test the pH, or you can touch it to your tongue and see if it burns. When it appeared to be done, 1 oz. of essential oil fragrance was added and stirred.  This recipe filled 2 pringles cans. Its a little lumpy on top because it was cooling and getting thick by the end. Next time, work faster. Tomorrow I will peel off the cardboard, cut the soap into bars, and let it cure for a day or two. It will be ready for use. Cold process was used for my second batch. Using the same recipe, I melted the butters in the microwave and set them aside to cool. The same process as previously was used to mix the lye to the milk. Always add the lye to the liquid, and never the other way. One reference described it as 'snow on the mountain' as a way to remember this step. Somehere I read that the temperature difference between the oils and the lye/milk should only be about 10 degrees to prevent darkening. So, I measured the temperatures and allowed the oils to cool to less than 90 degrees. (too cool and it would start to harden). My lye/milk was 76 degrees. The lye/milk mixture was added slowly this time, and had much better results. The final product had a nice creamy white color and smooth texture. This batch went into 2 bar molds I had purchased. Both molds were lined with wax paper to aid in unmolding. The white silicone mold was much easier to use and looked much nicer than the wooden one. Tomorrow, I will unmold and cut both bars. These soap slices will have to cure for several weeks before they can be used. The longer it ages, the better the soap, or so I'm told. 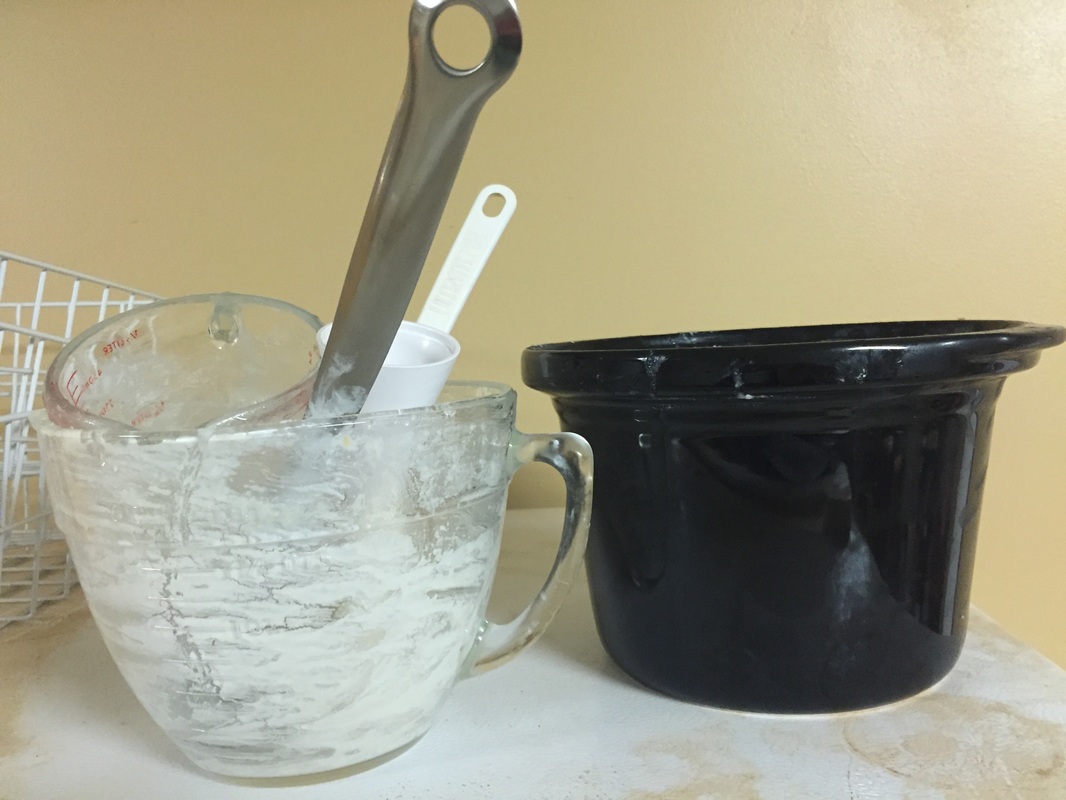 So, I've come to realize soap making is not nearly as difficult or as scary as I thought it would be.
0 Comments
Leave a Reply. |
AuthorMy name is Christy Franklin. Archives
February 2021
Categories |


 RSS Feed
